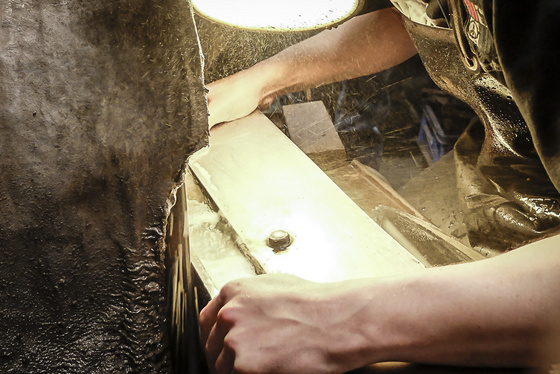
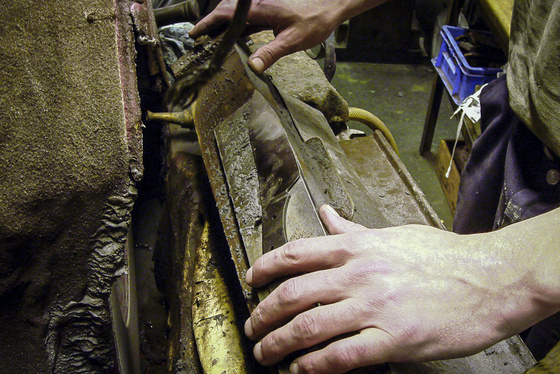
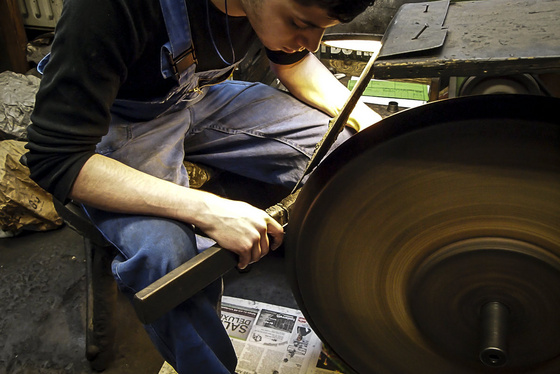
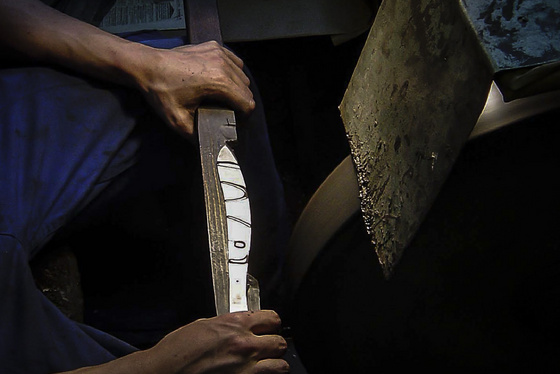
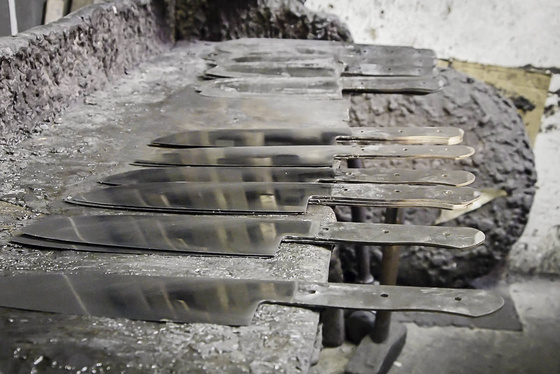
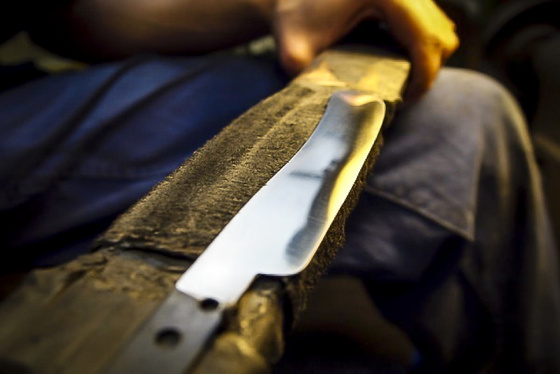
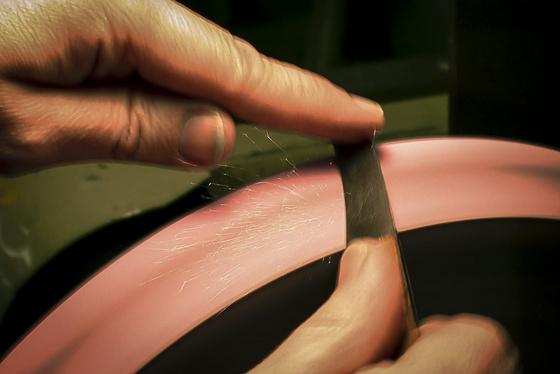
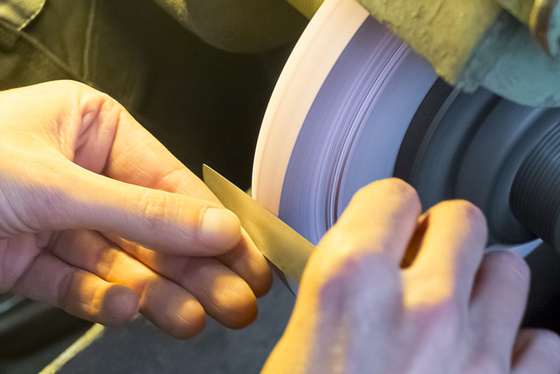
The human aspect is indispensable for many processes of our skilled craftsmanship because no other “tool” is as flexible, adaptive and sensitive as the human hand, especially when producing fine and exceptional knives.
Product knowledge – Traditional Knife Making

The human aspect is indispensable
For a long time, this skill seemed to be disappearing but we have succeeded over the past few years in training young people as apprentices in the old grinding trades. And we will continue to develop these trades because we know – the future of our craftsmanship is in their hands.
Solingen “dry-fine grinding”
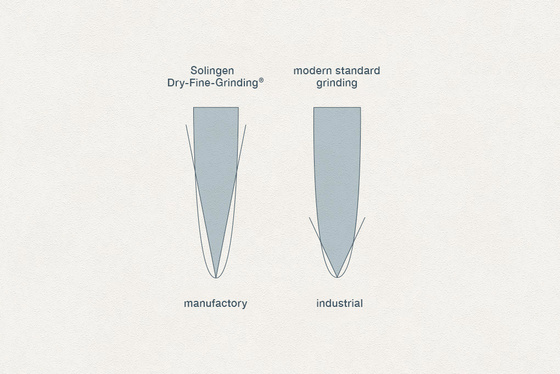
In contrast to most knives today, “Windmühle” knives are still produced according to the “Solingen Dry-Fine- Grinding” technique. The grinding angle is much farther up on the blade than is customary today. The blade is dry-fine-ground and tapers to a thin, very sharp cutting edge.
Knives ground in this way are defined by their special sharpness and long-lasting cutting edge.This traditional grinding technique which we still practise today has almost completely disappeared even in Solingen but it was once the basis for the high esteem enjoyed by Solingen knives all over the world.

Solingen “dry-fine grinding” – Exceptional sharpness and long-lasting edge retention
“Kessel bulge grinding”
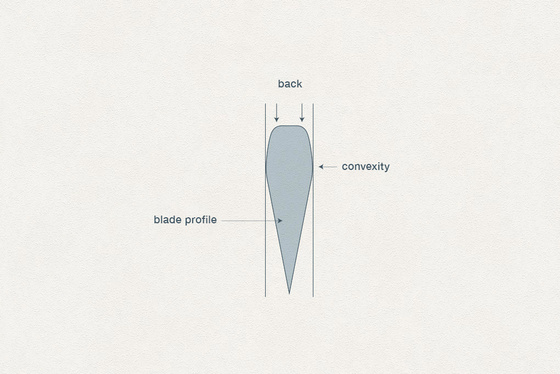
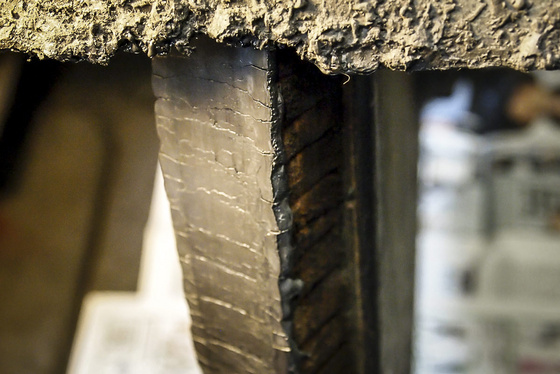
“Bulge grinding” is one of Solingen’s traditional grinding techniques and is only used in our manufactory still. Knives made according to this technique have a so-called “convex” geometry (see illustration on the right). This shape provides a high level of stability, and at the same time produces an extremely thin and finely ground cutting edge. Skill in this grinding technique requires a high degree of specialist knowledge and many years of experience as a grinder.
Glazing and Blue-glazing
“Glazing” is a special process of fine grinding the blade. At different stages, the blade surface is “fine-glazed” and then “blue-glazed”.
Since time immemorial, these processes have formed part of the most time-consuming of the traditional Solingen grinding techniques, “blue-glazing” being the finest pro- cessing of the blade surface.
Typical of this kind of blade are the bluish to rainbow coloured shimmers of the fine grinding marks. This work is primarily carried out by our master grinder W. Fehrekampf. One of the last true master grinders today who is still skilled in the fine art of “blue-glazed” knives, he is passing on his skill to our young grinders.
At a time when stainless steel did not exist, the aim of “blue-glazing” was to smooth the surface of the blade so finely and seal it so there was hardly any possibility of rust formation.
Non-stainless blades processed in this way are more resistant to rust and discolouration. Stainless blades processed in this way have such a smooth surface that the cutting quality is enhanced still further.
Thumbnail test
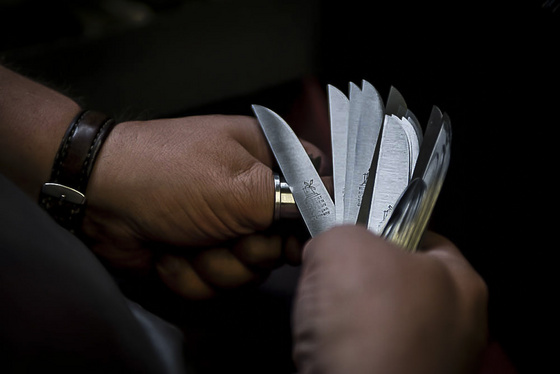
The traditional sharpness of our Windmühle knives produced by Solingen dry-fine-grinding is demonstrated by the so-called “thumbnail test”.
If you press the finely ground blade lightly on your thumbnail or an iron test ring, you will see a slight wave on the cutting edge. This is only visible on dry- fine-ground blades. We call this “the blade showing itself “ – a special mark of “Windmühle” quality, a guarantee of exceptional sharpness.
Every “Windmühle” knife undergoes this control test at least twice during production.

Mounting
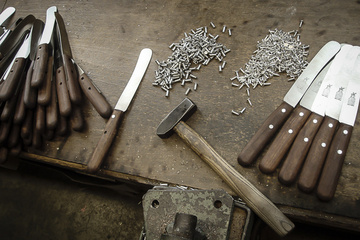
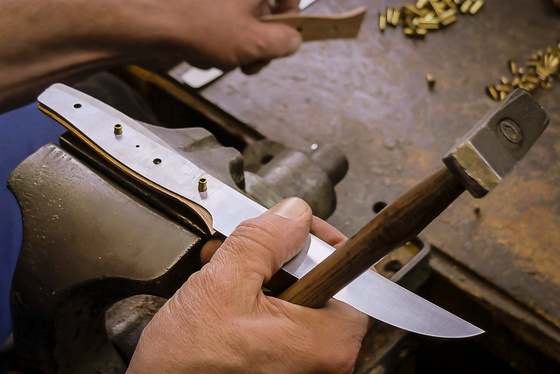
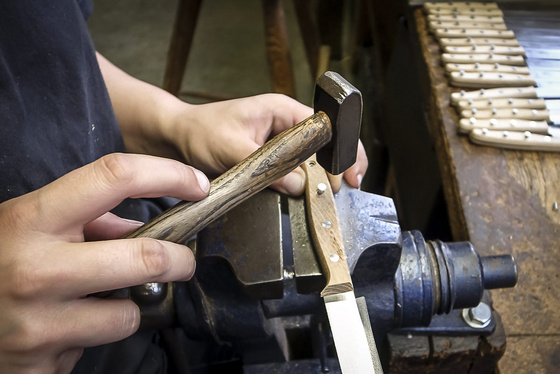
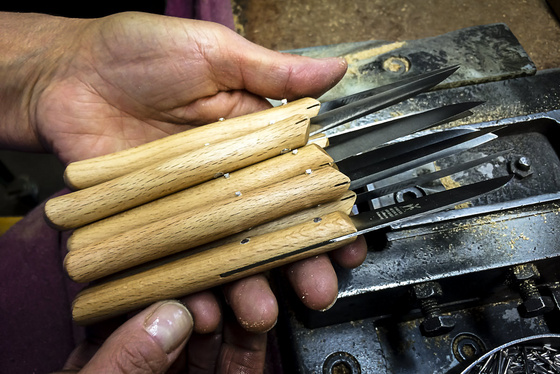
The term “mounting” describes the process of riveting together the blade and the handle.
The end of the blade that contains the holes for the rivets (known as the “tang”) is fitted into the handle so that the rivet holes in the blade and the handle are perfectly aligned. After choosing the right hollow rivets and rivet pins, they are knocked together through the wood and steel with a hammer.
This calls for precision and care; striking them too hard or not straight cracks the wood or causes gaps.

Finishing
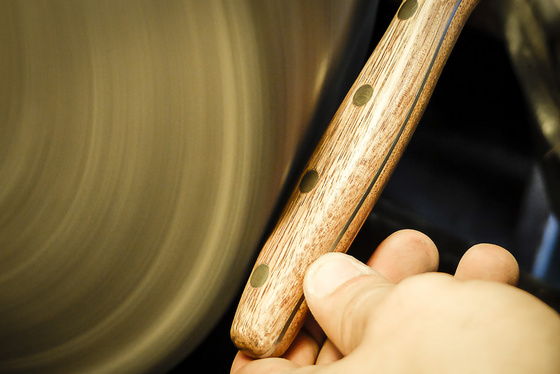
Areas of unevenness, any traces of the mounting process and the excess of the tang are removed on a coarse grinding belt. The handle is sanded to its final shape on a fine belt, and the surface is then polished. The art here lies in taking off all perceptible and visible edges without removing too much material. Maintaining the handle shape and symmetry is very important.
Honing
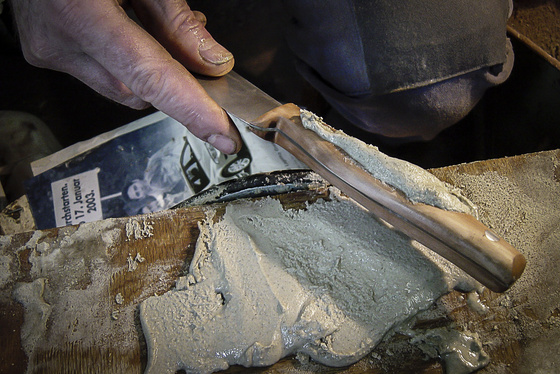
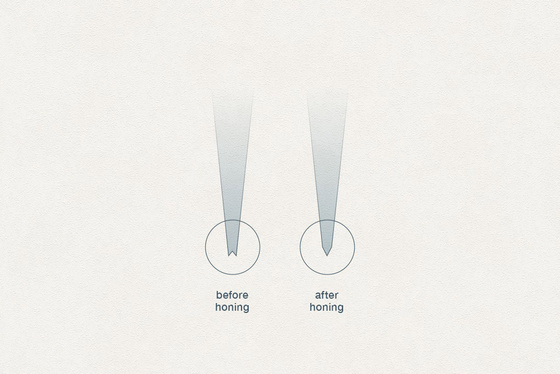
After grinding and glazing, which are the main steps in creating knife sharpness, honing is the important, final part of the process. Here, the pointed bevel, which has been carefully prepared in the previous sharpening processes, is finally sanded for smooth alignment.
Any tiny irregularities from the various production stages on the cutting edge would prevent the knife from making a clean cut. Honing smoothes them away and sands the bevel to a fine point. This is what makes the knife razor-sharp. The finer and smoother it is honed, the sharper the knife.
